Hazardous Good

  • Out of stock

    While this resin has been manufactured to resist scratching and resistance to marking from heat sources we must stress this resin will still mark if sharp items are moved across the surface or hot items are placed on the surface.

    As with all casting products, we stress that customers should purchase a small amount to perform initial tests to ensure suitability for their project and requirements.

    Product Data Units Mix
    Mix Ratio  Weight 100 : 50
    Hardness  ShoreD 80 - 85
    Viscosity (25°C) mPa.s 600 - 900
    Density (25°C) g/cm3 1.09 – 1.13
    Pot life (200g, 25°C) Mins 25 - 30
    Cure Time (200g, 25°C) Hours 24
    Full Cure (25°C) Days 7
    Recommended Casting Thickness mm 1 - 5
    Pigmentation Epoxy pigments are the recommended system to colour this resin however the polyester range of pigments will also work. Please read the Technical and Safety Data sheets prior to use. We recommend small scale testing to ensure compatibility before using at full scale.   Cold Weather Notice Cooler temperatures in the UK and Ireland around mid-autumn to mid spring are not ideal conditions for water clear epoxy systems, this can increase the chances of crystallisation in the resin (this can occur at room temperature depending on circumstances, it is however much less common). Appearance can differ depending on the degree of crystallisation, from small lumps sitting on the surface to a hazy/milky white appearance, extreme cases the contents may completely solidify.  Crystallisation occurs due to a phase change from liquid or solid similar to that of water turning to ice, fortunately it is easily reversed by warming the epoxy component to 60°c.  Ensure any crystals are completely removed as remaining crystals can act as a seed causing the crystals to form again quite quickly. Lab results show the heating cycle to remove crystals can be repeated on multiple occasions before beginning to suffer from any losses in resin properties.   We recommend keeping the resin system at a good room temperature at all times where possible, ensure to clean the lids and bottle necks of containers with isopropyl alcohol / acetone allowing the solvent to evaporate before replacing the lid.  
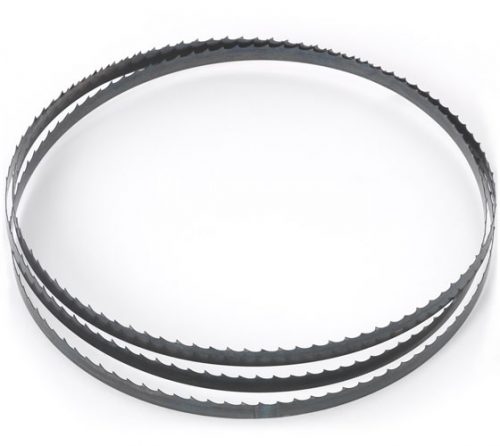
  • Skip tooth pattern to suit BS250 & Sabre 250. Also fits RSBS10, Clarke CBS335, Nutool HBS14
    Select options This product has multiple variants. The options may be chosen on the product page Details Quick View
  • Skip tooth pattern to suit BS300E. Also fits Startrite 301S/301E, Poolewood 1402, Scheppach Basato 3
    Select options This product has multiple variants. The options may be chosen on the product page Details Quick View
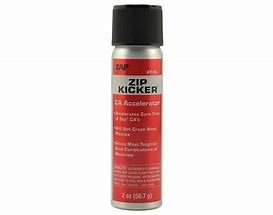
  • Accelerates Super Glue cure time. Best working accelerator for ZAP. Sets in just a few seconds.
  • Select options This product has multiple variants. The options may be chosen on the product page Details Quick View
  • Skip tooth pattern to suit BS400. Also fits Axminster JBS180 & Jet JWBS18
    Select options This product has multiple variants. The options may be chosen on the product page Details Quick View
  • Select options This product has multiple variants. The options may be chosen on the product page Details Quick View
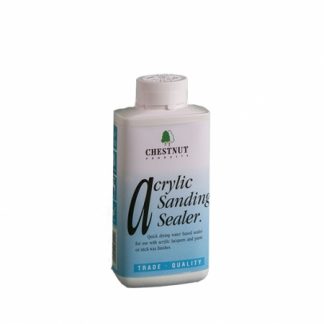
  • This water based sanding sealer gets the job done without the smell associated with solvent based sealers and also with no flammability issues – ideal for asthma suffers and anyone with an aversion to solvent based finishes. Applied by cloth, brush or spray (Chestnuts' foam brushes are especially good with this) the sealer dries in about 5 minutes and can be overcoated with most compatible finishes after about 20 minutes although two hours should be left if using Acrylic Lacquer. Acrylic Sanding Sealer sands easily with a fine abrasive and is supplied ready for use.
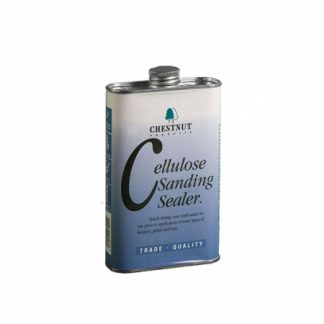
  • Good finishing requires a good foundation, and Cellulose Sanding Sealer is probably the best way of providing one. Compatible with everything in the Chestnut Products range that benefits from the use of a sanding sealer (which is pretty much everything apart from oil finishes!) it is superbly universal. The purpose of a sanding sealer is manifold.
    • It seals the open pores of the timber prior to the application of the next coat, meaning that more of it stays on the surface and less of the finish is needed. Not only does this make it economical, when finishing the thinner the applied coat the less likely it is to get damaged, so a sanding sealer will help the top coats be more resilient.
    • Sanding Sealers also bind the loose fibres of the timber together giving a more solid foundation for the next coat, which helps make sure the final finish is able to adhere properly and thus be more durable.
    • They also include a sanding agent which acts as a lubricant to make the sanding process easier – the sanding agent also stands slightly proud of the surface of the sealer and it is this that is denibbed – the sealer itself should still be intact after sanding.
    Select options This product has multiple variants. The options may be chosen on the product page Details Quick View
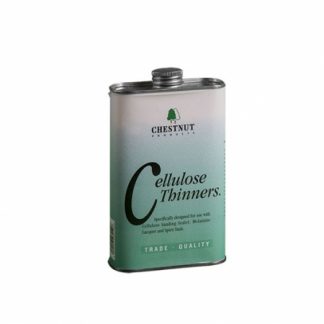
  • This pure cellulose solvent is a high quality dilutant for our cellulose based products, such as Cellulose Sanding Sealer and Melamine Lacquer. Thinning these products can help to make them easier to apply, especially over larger areas as it helps them flow out. Cellulose Thinners is also useful for cleaning any spills you may have in the workshop and is strong enough to help clean most things, taking care to ensure that it does not attack It can also be used to thin Spirit Stain to give a delicate wash effects, although spirit thinners is the better option for this.
    Select options This product has multiple variants. The options may be chosen on the product page Details Quick View
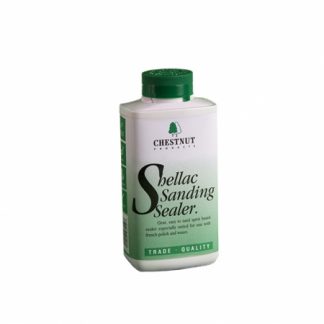
  • Shellac Sanding Sealer is the traditional way of sealing timber prior to applying a polish or a wax. Chestnuts version has a high percentage of real shellac which means it does the job extremely well, dissolved in an ethanol solution to make it easy to apply and quick drying. Applied by cloth, brush or spray it dries in about 20 minutes, making it very popular for cabinet and architectural work as it is easy to keep a wet edge running. It is also popular with woodturners and highlights the natural grain of the timber extremely well. Sand back lightly after application and apply Friction Polish, French Polish or any of Chestnuts waxes on top. Conforms to EN71 Part 3 – suitable for toys and nursery furniture.
    Select options This product has multiple variants. The options may be chosen on the product page Details Quick View
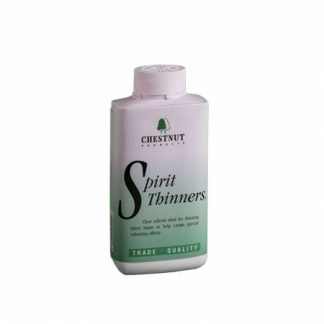
  • This clear, slower drying solvent is primarily for thinning our Spirit Stain to give delicate wash effects without affecting the colour (as methylated spirit would). It can also be used to dilute Friction Polish or French Polish if needed (usually only when the cap has been left off and the product has thickened up). It’s also suitable for use in making french polish if you want to dissolve shellac flakes in it.
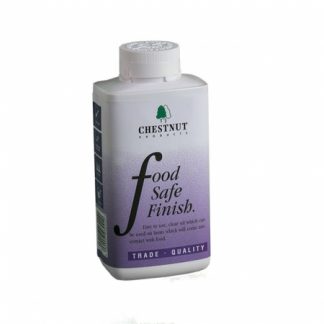
  • Food Safe Finish is a clear, food grade mineral oil. Chestnut use a thin grade of oil to allow it to soak into bare timber which then protects it against water splashes etc whilst not tainting or affecting the food in any way. It dries to a fairly matt finish; it is however ideal to use for wet sanding and when used with a very fine abrasive it can give an exceptionally smooth surface which has its own gentle glow. Apply with a clean cloth or brush direct onto bare wood, up to three coats are recommended. If the oil sits on the surface and won’t soak in it means the timber has absorbed as much as it can and no further coats are needed. Any surplus can be removed with a clean cloth if required. Depending on the way the item is used it might be necessary to top-up the finish, especially if it is washed regularly.
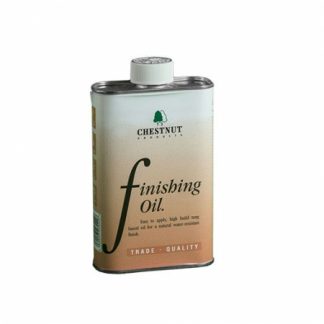
  • Chestnut Finishing Oil is Chestnuts' version of Danish Oil* and uses Tung Oil as its base but with the addition of solvents and driers. This aids the drying of the product and speeds it up dramatically, so that it’s dry within eight hours. It has a pale amber colour and dries to a hard yet flexible film which is very hardwearing and water resistant. For a high gloss finish apply several coats with a light rub down between coats; after 5 or 6 coats a good sheen should be visible. Finishing Oil is normally applied by cloth but on larger areas a brush can be used very successfully.
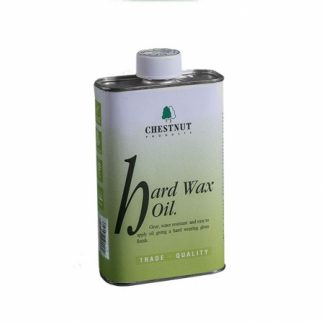
  • If you’re looking for a clear finish that is tough, hardwearing and gives a satin lustre yet is still very easy to apply, even on larger areas, you’re in the right place. Hard Wax Oil is a particular blend of tough oils combined with special waxes which dries to an exceptionally resilient finish. Ideal for anything that is going to be subjected to water splashes or a lot of handling this oil may not be indestructible but it will stand up to a lot of abuse. It retains the ease of application typical of an oil and it stays wet long enough to get a smooth, even finish – even on large areas – but is touch dry and tack free in about 20 minutes, and better yet is ready for a second coat after about four hours (in normal conditions). Hard Wax Oil will build to a bright gloss finish after 2-3 coats. Rub down lightly between coats with a fine abrasive. Once hard dry (allow at least 24 hours) it can be brought to an even brighter shine using either the buffing wheel system or burnishing cream. For a not-quite-so-bright finish use a mild abrasive to reduce the gloss. For best results lubricate the abrasive with microcrystalline wax  to retain the toughness of the oil.
  • If you’re looking for a clear finish that is tough, hardwearing and gives a bright gloss yet is still very easy to apply, even on larger areas, you’re in the right place. Hard Wax Oil is a particular blend of tough oils combined with special waxes which dries to an exceptionally resilient finish. Ideal for anything that is going to be subjected to water splashes or a lot of handling this oil may not be indestructible but it will stand up to a lot of abuse. It retains the ease of application typical of an oil and it stays wet long enough to get a smooth, even finish – even on large areas – but is touch dry and tack free in about 20 minutes, and better yet is ready for a second coat after about four hours (in normal conditions). Hard Wax Oil will build to a bright gloss finish after 2-3 coats. Rub down lightly between coats with a fine abrasive. Once hard dry (allow at least 24 hours) it can be brought to an even brighter shine using either the buffing wheel system or burnishing cream. For a not-quite-so-bright finish use a mild abrasive to reduce the gloss. For best results lubricate the abrasive with microcrystalline wax  to retain the toughness of the oil.
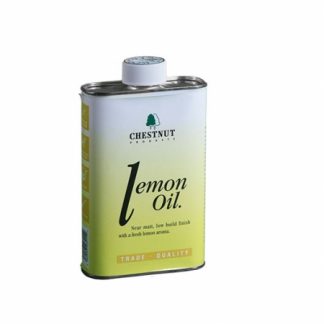
  • If you’re looking for a finish that won’t change the colour of your timber, won’t overpower the natural beauty of the wood with a high gloss but will still protect the timber and smell nice, well, you’re in the right place! Lemon Oil is a clear, low build finish. By that we mean that it’s a very thin liquid with a very low solids content, so no matter how much you apply it’s not going to build up to a discernible visible film on the surface. Instead it soaks in and seals the surface, offering a level of water resistance and protection against handling. Normally applied with a brush or a cloth it’s very  easy to use and covers well and doesn’t usually show overlaps, so it’s ideal for large areas which often look better without a high gloss. And as you might expect, it has a pleasant lemon aroma too, although this does fade after a while.
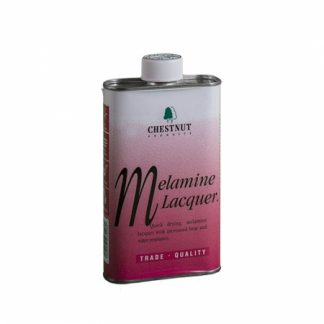
  • Chestnut Melamine Lacquer

    £16.22£26.93
    When you’re looking for a hard-wearing, heat and water resistant, quick drying gloss lacquer you need look no further than Melamine Lacquer. Based on cellulose technology, Melamine Lacquer has a catalyst suspended within it; when the lacquer is in the can it is inert but once applied and exposed to the air, the lacquer dries within five minutes like a cellulose and then the catalyst kicks in and the lacquer goes on to chemically cure to give a more durable coating. 90% of the curing process happens in the first seven days after application, making the lacquer very hard wearing, the remaining 10% of the process can take up to two weeks more to give maximum toughness, something you only need to consider if the lacquer is going to be subjected to extremely hard use. Melamine Lacquer is designed to give a full gloss finish which will be achieved with a very careful application. It can be applied by brush (foam or bristle), cloth or by spraying. Where necessary, use cellulose thinners to dilute the product – especially helpful if working on a large area. The gloss level of Melamine Lacquer can be increased by using burnishing cream once it has dried, and it can also be overcoated with friction polish (to increase the depth of the shine) or woodwax 22 or microcrystalline wax (for a more natural feel).
    Select options This product has multiple variants. The options may be chosen on the product page Details Quick View
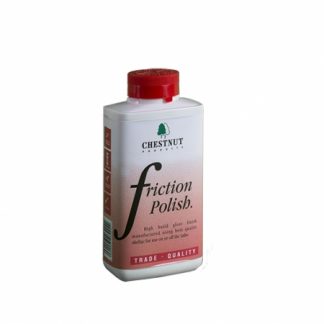
  • Chestnut Friction Polish

    £20.79£38.75
    Friction Polish is a shellac based polish ideal for creating a high gloss finish on or off the lathe. It’s a great decorative finish and is ideal for small items but can be difficult to apply to larger items on the lathe (over about 8 inch diameter). The high amount of shellac in Friction Polish does two main things. Firstly it helps seal bare wood and give it a great shine, which is good. Sadly the price of this commodity shot up a few years ago when the shellac crop failed and it never went back down, meaning that the cost of the polish has also risen sharply. Nevertheless, Friction Polish remains one of the most popular finishes for turners. It can be applied to bare wood but is normally used over a sealer and any of the sealers in the Chestnut Products range are suitable for this. Applied with the lathe running it dries almost instantly and builds to a deep, rich shine very quickly. Avoid using too much as this can cause ‘rings’ to appear on the surface. Friction Polish can be applied off the lathe with great success, using it like a French Polish and rubbing it into the surface. This does require a large amount of elbow grease (sadly not something we supply) but the end result is well worth the effort!
    Select options This product has multiple variants. The options may be chosen on the product page Details Quick View
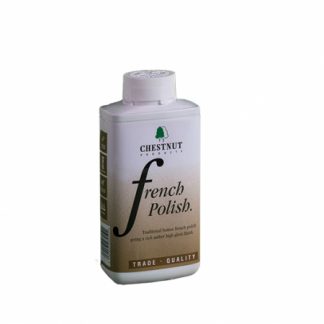
  • Confusingly, French Polish refers to a range of polishes (which would include Button Polish, White Polish, Garnet Polish etc) and also to a specific polish, French Polish. Chestnuts' French Polish is a traditional blend of solvent (methylated spirit) and a top quality unbleached shellac which is very similar to a Button Polish in colour. Applied either to bare timber or over a Shellac Sanding Sealer it is built up in many layers which have been described as being the thickness of a cigarette paper! French Polish gives the rich amber glow found on fine antique furniture and requires a very specific technique for application that is time consuming and laborious, but the final effect has to be seen to be believed and the satisfaction of achieving it is its own reward. A French Polish finish is not very hard wearing and is recommended for items that are going to be cared for.
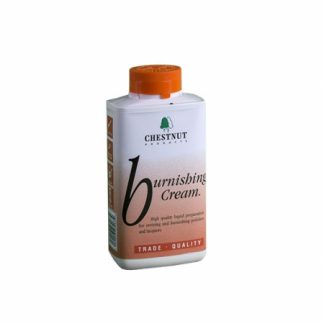
  • This creamy liquid has a very mild abrasive within it which acts like ‘liquid sandpaper’ on finished surfaces, cutting back and cleaning the finish and elevating it to a glossier, brighter finish. It can be used to smooth Cellulose Sanding Sealer prior to applying wax or Friction Polish, or, after allowing a suitable time to dry, on any of the lacquers, Friction Polish, Finishing Oil or Hard Wax Oil. A deep finish can be achieved using Burnishing Cream on a coat of Melamine Lacquer, then a coat of Friction Polish and finally the Burnishing Cream again. Use it sparingly so as not to over lubricate the surface and be sure to shake the bottle before use. It is not advisable to use a lacquer on top of a surface that has had Burnishing Cream used on it.
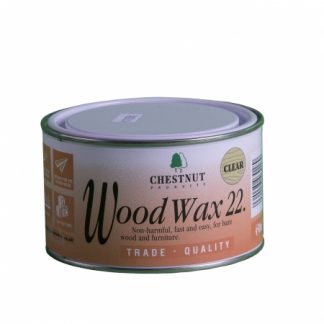
  • WoodWax 22 contains beeswax (for shine) and carnauba wax (for hardness). Blended together in a solvent to produce a soft creamy paste. This makes it very easy to apply over any surface. WoodWax 22 is quick drying enough to be applied onto unsealed wood but works best on one of Chestnuts sanding sealers. If working on the lathe the wax should be applied with the lathe stopped. Apply using a cloth (Safety Cloth or Stockinette works well with this); the wax spreads easily over the surface, after about 20 seconds it starts to drag slightly. This means it is ready to buff up; if you haven’t covered the whole piece by then don’t worry, just take a little more wax from the tin and carry on applying, the wax won’t mind waiting! It’s best to buff WoodWax 22 as soon as you can; that way any surplus wax that might have been applied will be removed, allowing the shine to really show through. If working on the lathe Safety Cloth should be used for the buffing process and let the lathe do the work for you. Off the lathe Safety Cloth or Stockinette can be used. A second or even third coat of wax can be applied if required, leaving about twenty minutes between coats. After three coats the finish can become softer and will mark very easily.
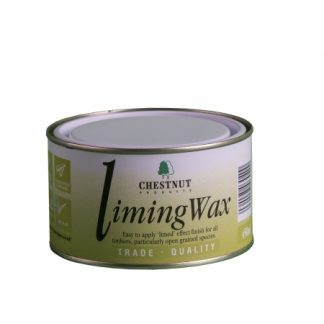
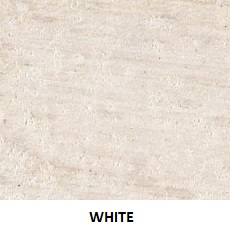
  • The white pigment in Liming Wax is  Titanium Dioxide (TiO2) which gives it a brilliant white finish which will perfectly highlight open grain. Use Liming Wax on any open grained timber for a dramatic and striking effect which can be emphasised by using a stain or Ebonising Lacquer first. For an even better result use the Liming Brush first to open up the grain, allowing more Liming Wax to enter; spread the Liming Wax over the whole surface and then wipe off after a few minutes. The Liming Wax will stay in the open grain and the effect will be instantly visible. Whilst Liming Wax is a wax (obviously!), the wax is mainly a carrier for the white pigment. Therefore an overcoat of some kind is needed. WoodWax 22, Microcrystalline Wax, Finishing Oil or Hard Wax Oil are ideal for this and will lock the wax in place whilst keeping it clean and bright.
    Select options This product has multiple variants. The options may be chosen on the product page Details Quick View
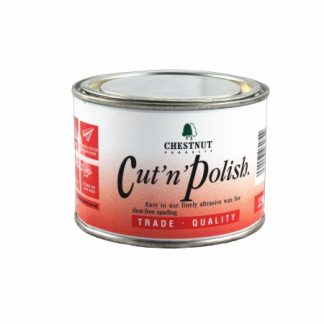
  • Cut’n’Polish is a blend of two waxes with a fine abrasive held in suspension within them. This is a soft wax designed to stay ‘wet’ slightly longer during application, allowing it to lubricate the abrasive to give a very fine cut to the timber and also to collect any dust generated during use and some subsequent sanding, preventing it from entering the workshop atmosphere. On bare wood; sand to 240 grit as normal, apply a coat of Cut’n’Polish with the lathe stopped, then switch on the lathe and buff to a soft sheen whilst smoothing the timber at the same time. On sealed wood apply after the sealer in the same way, polishing to a slightly higher shine. Cut’n’Polish dries almost immediately and can be overcoated with Friction Polish or any Chestnut waxes for a higher shine.
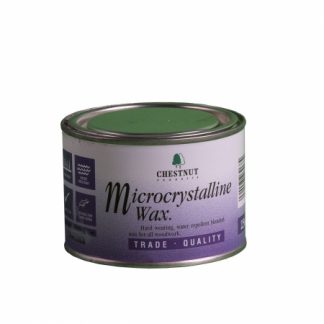
  • Chestnut Products’ Microcrystalline Wax is a blend of high quality waxes rich in microcrystalline wax – a wax derived from the petroleum refining process and known for the fineness of its crystals. This is mixed with a special solvent to create a firm wax which, when dry, knits down to form a very dense coating making it very water resistant, meaning that it is ideal for any items that are likely to come into contact with water for short periods of time. Microcrystalline waxes also have a higher melting point than other waxes traditionally used to make polishing waxes, the benefit of which is that repeated handling of items finished in Microcrystalline Wax won’t finger mark in the same way, as the melting point is higher than normal body temperature. Microcrystalline Wax should be used over one of the Chestnut Products’ sanding sealers and allowed to dry (about 20 minutes) before buffing to a shine. For best results apply a very thin coat, spreading the wax evenly over the entire surface. Microcrystalline Wax can also be used on the buffing wheel system. In this situation use the A and B Wheel as normal, then apply the Microcrystalline Wax to the item you are polishing. Allow 20 minutes for the wax to dry then buff and normal using the C Wheel. You can use the same C Wheel for both Microcrystalline Wax  and the Carnuaba Wax Stick Microcrystalline Wax has been tested to the EN71 Part 3 regulations regarding coatings used on toys.
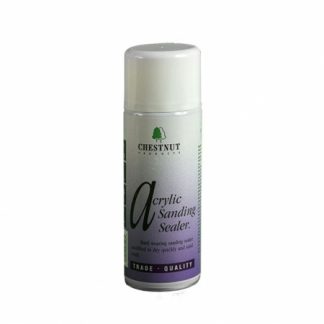
  • It’s important to use a sanding sealer on most items; it gives a good foundation to your piece and can help the next coat to adhere properly to the timber. Chestnut Acrylic Sanding Sealer does this perfectly and is designed to be used with Acrylic Gloss Lacquer, Acrylic Satin Lacquer, Ebonising Lacquer, any of their polishes and any of their waxes. Supplied in an easy to use aerosol the dried coating complies with the EN71 Part 3 regulations governing toys and nursery furniture. Once dried lightly sand back prior to applying your top coat.
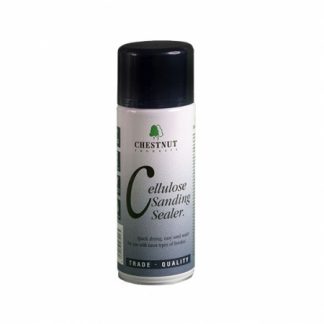
  • Getting a good base for your finishing is essential when you want to get a great finish. Sometimes the piece you’re working on makes that more difficult due to its shape or size or for many other reasons. Or sometimes you just want a quicker, cleaner method of applying a sealer. That’s where Cellulose Sanding Sealer in an aerosol comes into its own. Basically the same product as in the tin, it has all the same benefits of quick drying and universal compatibility, it also has the added advantage of being easier both to apply and to get an even coating. Use it before applying waxes, lacquers and polishes for a more durable final finish.
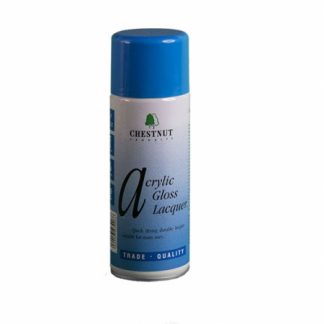
  • If you don’t have access to spraying equipment, this aerosol lacquer will give you a great finish quickly and easily. A spray application is particularly relevant when trying to achieve the best gloss finish possible. Acrylic Gloss Lacquer is a high build water based lacquer specially adapted to give the best delivery through the nozzle (chosen to give excellent results without spitting, spotting or clogging in normal use) without, of course, the use of CFCs. The lacquer itself dries quickly to give a high gloss finish straight from the can which has the benefit of being extremely hard wearing and durable – so much so that it can be used on items that will be kept outdoors or used in areas where moisture could damage other finishes. Acrylic Gloss Lacquer is touch dry and tack free in around five minutes and hard dry in twenty minutes, ready for a second coat if needed after a light rubdown with a fine abrasive. The sheen level can be increased if required by using Burnishing Cream (which will not affect the durability) or, after allowing 24 hours to ensure it is completely hard dry, by using it in conjunction with the Buffing Wheel Kit.
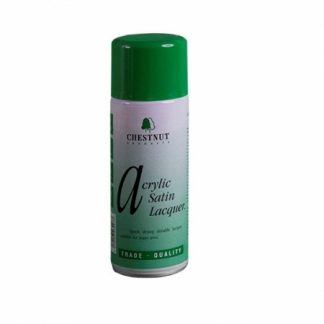
  • When you need to protect your work but don’t want an overpowering shine on it, Acrylic Satin Lacquer is an ideal choice. With the benefit of an easy aerosol application, especially useful on awkward shapes, this is a hard wearing water based lacquer that will protect whatever it’s put onto, leaving an attractive satin sheen. Acrylic Satin Lacquer is touch dry and dust free in about five minutes and hard dry about 20 minutes, ready for a second coat if needed after a light cut back with a fine abrasive. For best results it should be used over either Cellulose Sanding Sealer or the Acrylic Sanding Sealer aerosol. If you have a change of heart on the finish the lacquer can be brought to a gloss by using either Burnishing Cream or the Buffing Wheel Kit. Or you can simply apply a coat of Acrylic Gloss Lacquer!
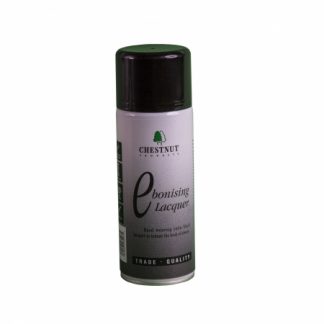
  • Ebonising Lacquer is a tough, hard-wearing water-based lacquer. It is heavily pigmented so that when it is dry it emulates the classic satin look of ebony. Usually applied over a sanding sealer (either Cellulose Sanding Sealer or Acrylic Sanding Sealer aerosol) it is touch dry in about five minutes and hard dry after twenty minutes. Although heavily pigmented it is not paint and will still allow the grain of the timber to show through, rather than obliterating it completely. Liming Wax and Gilt Cream can be applied over Ebonising Lacquer to give a pleasing, eye-catching yet very simple artistic effect. If a bright gloss finish is required from Ebonising Lacquer this is best achieved by using Burnishing Cream on the lacquer with will polish it up to a high gloss. Acrylic Gloss Lacquer can also be applied on top of Ebonising Lacquer, as can WoodWax 22 and Microcrystalline Wax.
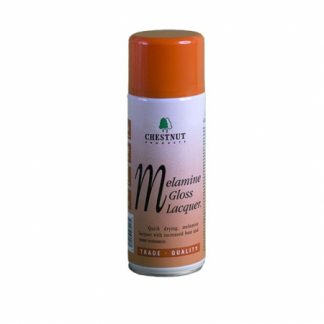
  • Melamine Lacquer can be a bit fiddly to apply and there’s no better way than spraying it. If you don’t have access to spray equipment then this aerosol version is the ideal way. Melamine Gloss Lacquer will quickly build to a bright gloss finish and dries in a matter of minutes. Touch dry and safe to handle within five minutes the lacquer chemically cures to give a tougher finish. The lacquer achieves practically all of this (about 90%) within seven days, after which the process slows and can take up to another two weeks to fully complete. Best used over a Cellulose Sanding Sealer (brushing or aerosol) and can be overcoated with a wax for a softer tactile feel.
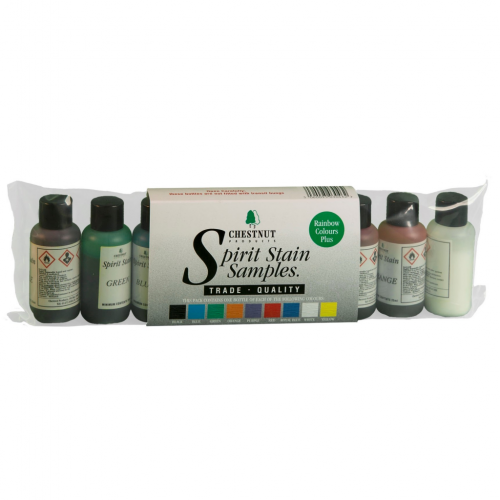
  • The ideal way to experiment with the different colours available to decide which ones you prefer, the Spirit Stain Kit contains one bottle (min. contents 25ml) of each of the nine colours. These are exactly the same stain as in the bigger bottles and will intermix if you want to vary the shades available.
    The stains are very fade resistant, quick drying and non-grain raising.
Go to Top